Because Windows doesn’t have dd, and I want to write the latest Mint LTS release to a USB task, I had to face the unpleasant task of finding a Windows tool to perform what’s a basic Unix operation. The good news is that I found one, and it’s open source: Win32 Disk Imager. It even has a version ≥ 1, titled: “Holy cow, we made a 1.0 Release”.
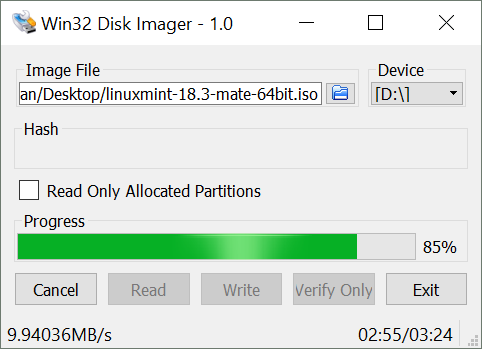
Win32 Disk Imager at work, writing Linux Mint 18.3 MATE 64bit to my SanDisk USB stick.
I found another open source tool, UNetbootin, but that tool didn’t recognize my non-MS-format formatted USB stick (which already tauted the installer for a previous Mint release).
In the end, Win32 Disk Imager also choked on the funky partition table left by the previous boot image, so I had to find out how reset the USB disk’s partition table in Windows:
C:\WINDOWS\system32>diskpart

Microsoft DiskPart version 10.0.16299.15

Copyright (C) Microsoft Corporation.
On computer: YTHINK

DISKPART> list disk

  Disk ###  Status         Size     Free     Dyn  Gpt
  --------  -------------  -------  -------  ---  ---
  Disk 0    Online          238 GB      0 B        *
  Disk 1    Online           29 GB    28 GB

DISKPART> select disk 1

Disk 1 is now the selected disk.

DISKPART> list partition

  Partition ###  Type              Size     Offset
  -------------  ----------------  -------  -------
  Partition 1    Primary           1706 MB  1024 KB
  Partition 2    Primary           2368 KB  1707 MB

DISKPART> select partition 2

Partition 2 is now the selected partition.

DISKPART> delete partition

DiskPart successfully deleted the selected partition.

DISKPART> select partition 0

The specified partition is not valid.
Please select a valid partition.

There is no partition selected.

DISKPART> select partition 1

Partition 1 is now the selected partition.

DISKPART> delete partition

DiskPart successfully deleted the selected partition.

DISKPART> create partition primary

DiskPart succeeded in creating the specified partition.

DISKPART> exit

Leaving DiskPart...

C:\WINDOWS\system32>


Recent Comments